15 Apr 100% Sugar-Free Desserts You’ll Seriously Flip Over!!
Make no mistake about it, I.LOVE.DESSERT!! Even when I was a kid I couldn’t get enough sweets! In fact, my family still loves to tell stories about me breaking into the doughnut box, stealing chocolate candies from my brother, eating the cookie ornaments off the Christmas tree in the middle of the night and blaming it all on our family dog! I know… it’s terrible (I still feel guilty!).
So when I made the commitment last November to go completely 100% sugar-free (and I mean NO SUGAR! No artificial, artificially derived and even natural sugars), I’ll be honest, I was a bit concerned for the first time in my life about making a proclamation like this and whether or not I’d really be able to follow through. I’ve never done well when it comes to programs that are structured around denial and deprivation, so I knew in order for me to truly do this, I was going to need to experiment and get creative in the kitchen, and creative I got!
 Over the past few months I have been slaving away in the kitchen (wink, wink) while experimenting, tweaking and fine-tuning two of my all-time favorite dessert recipes, carrot cake and chocolate cake! And I have finally come up with a combination of ingredients for each to make these desserts 100% sugar-free, gluten-free and “Oh So DELICIOUS!”
I hope you enjoy and please feel free to leave a comment below and let me know what you think!
 No-Guilt Carrot Cake with Cream Cheese Buttercream Frosting
Prep time: 15 minutes
Ingredients:
6 eggs
3/4 cup canned pumpkin
1/2 cup unsalted butter, ghee, or coconut oil, melted
2 tbsp non-alcoholic vanilla extract*
1 green-tipped banana
1/4 cup coconut milk (out of the can)
1 cup coconut flour
pinch of sea salt
1/2 tsp baking soda
1/2 tsp baking powder
1/2 tbsp cinnamon
3 cups grated carrots (approximately 5-6 large)
1 cup chopped walnuts (optional)
 Begin by preheat the oven to 350 degrees and then in a large bowl combine together the eggs; pumpkin; butter, ghee or coconut oil; coconut milk; vanilla; and banana. Then using a high speed blender, blend the ingredients together until the mixture is smooth. I love using my Blendtec blender for this because it gets all your wet ingredients fully integrated and leaves no chunks!
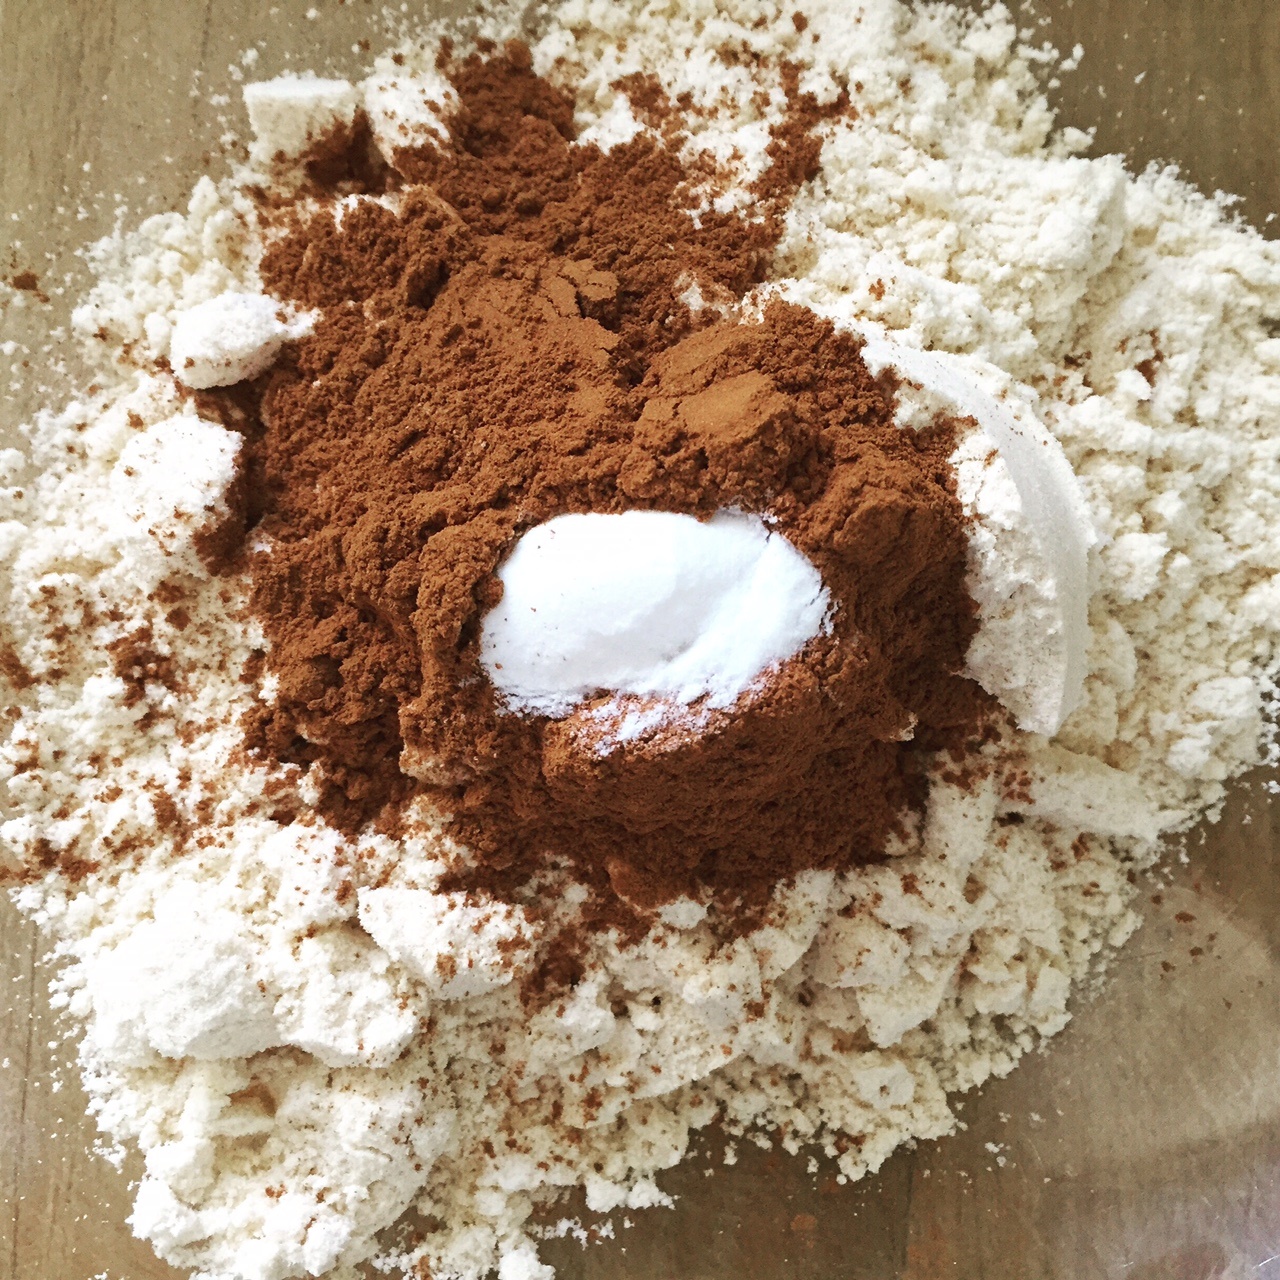
Next you’ll want to take all your dry ingredients (coconut flour, salt, baking soda and cinnamon) and add them to a separate bowl and then whisk until well combined.
Now using an immersion blender combine your wet and dry ingredients together. If you don’t have an immersion blender you can simply whisk the two together. I personally like to use this style of blender because it makes the mixture nice and light and gives it almost a whipped consistency.
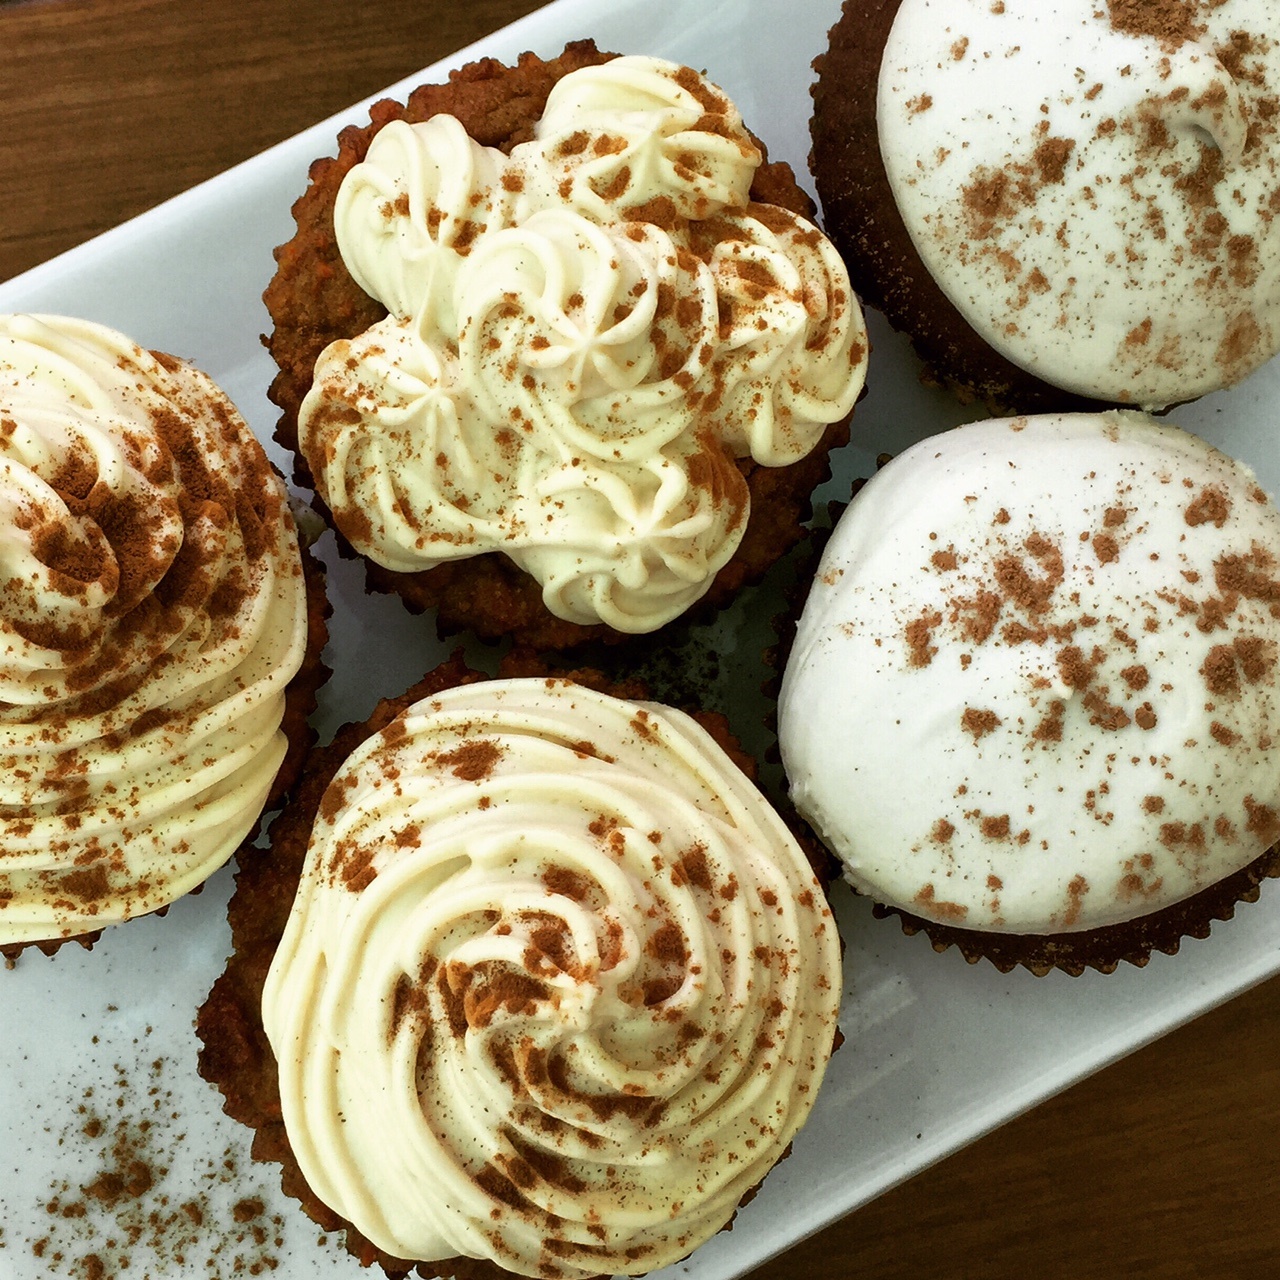
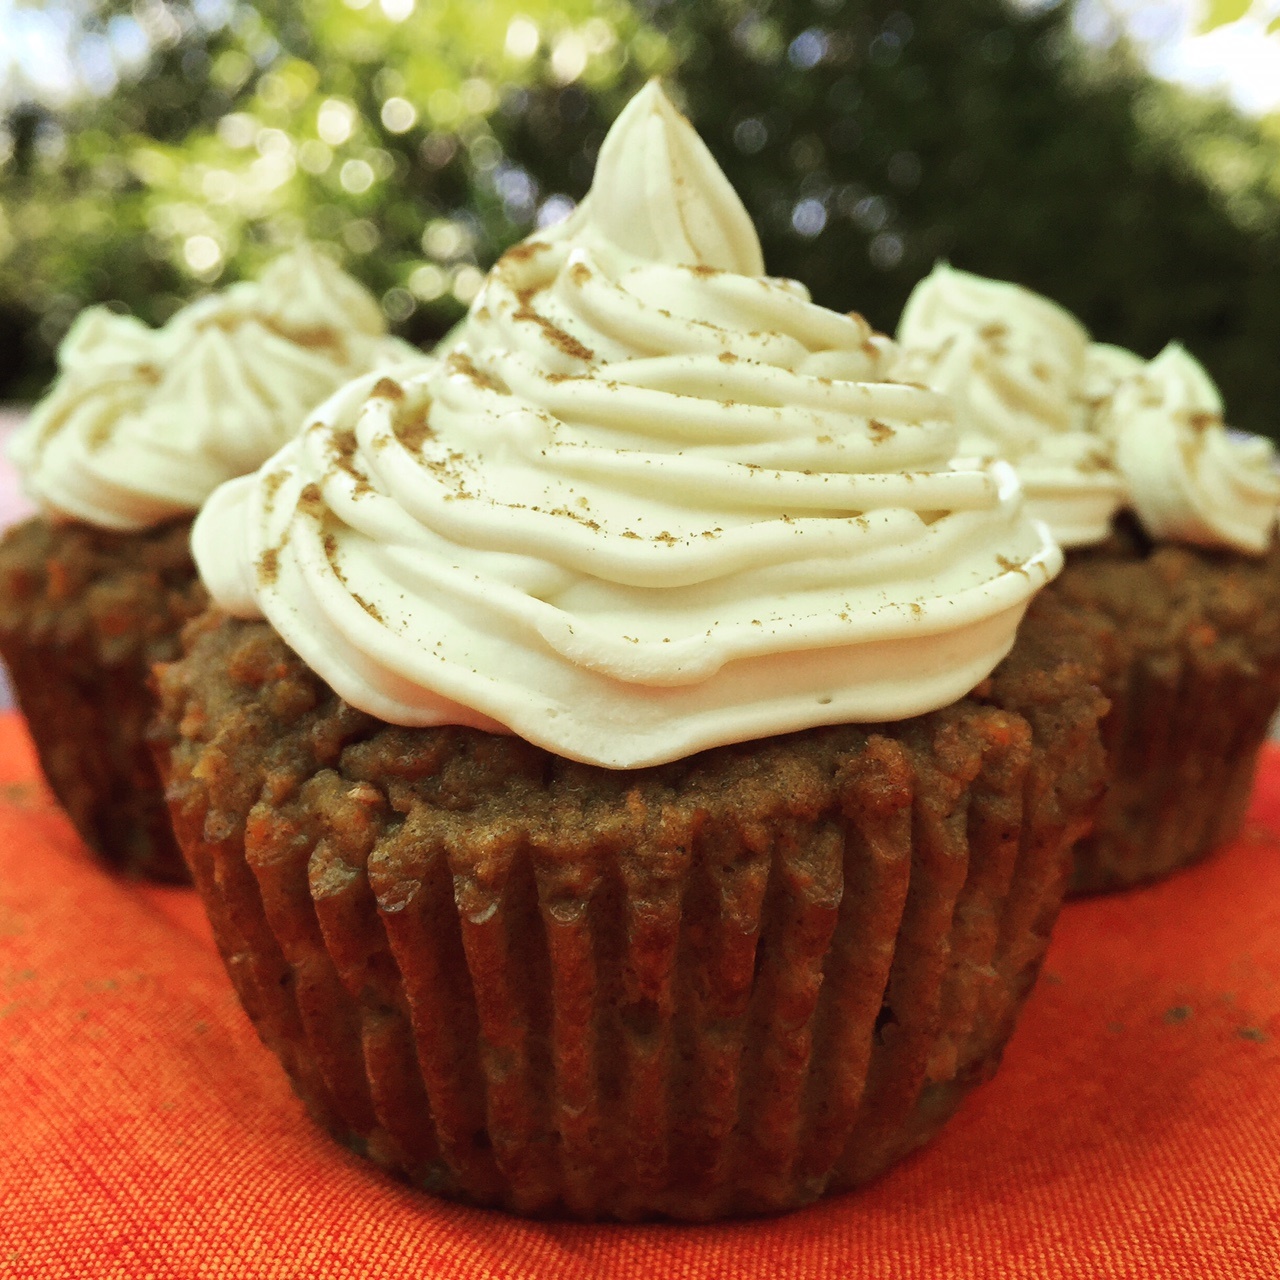
 For the last step, you’ll fold your grated carrots (and walnuts, optional) into your mix and then pour the mixture into whatever mold you’ll be using (be sure to grease it first). You can make this in a bread loaf tin, cake tin, or as individual mini cakes (as pictured).
Bake for approximately 30-40 minutes (you’re time will very depending on which mold you choose) or until golden brown and a toothpick inserted into the center comes out clean.
Cream Cheese Buttercream Frosting
Prep time: 5 minutes
Ingredients:
1, 8oz package of grass-fed cream cheese (room temp)
4 oz of grass-fed butter (room temp)
1/2 cup coconut cream (not the milk)
2 tbsp non-alcoholic vanilla extract (or use to taste)*
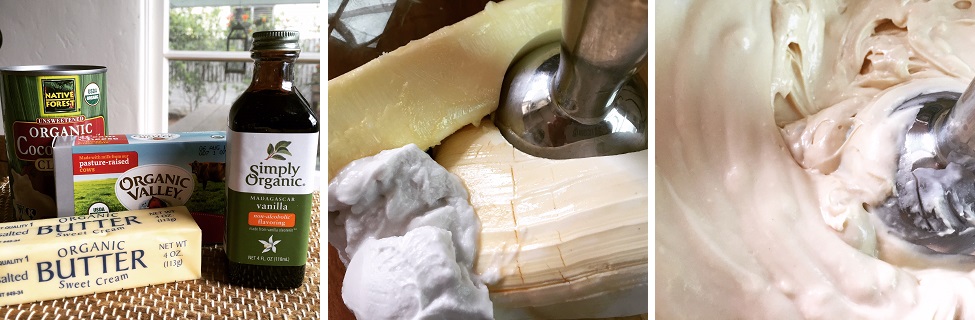 All you’ll need to do for your frosting is combine your ingredients in a bowl and mix on high with an immersion blender or high speed blender until well combined. Since you’re not using a frosting starter this may take a bit to fully integrate all the ingredients, keep going with it though… it’ll happen (and the closer to truly “room temperature” you are with your ingredients the faster it will assimilate).
The icing is thick enough that you can place it in a pipping bag and decorate as you like OR you can simply spread on with a butter knife or icing knife.
Store in the fridge.
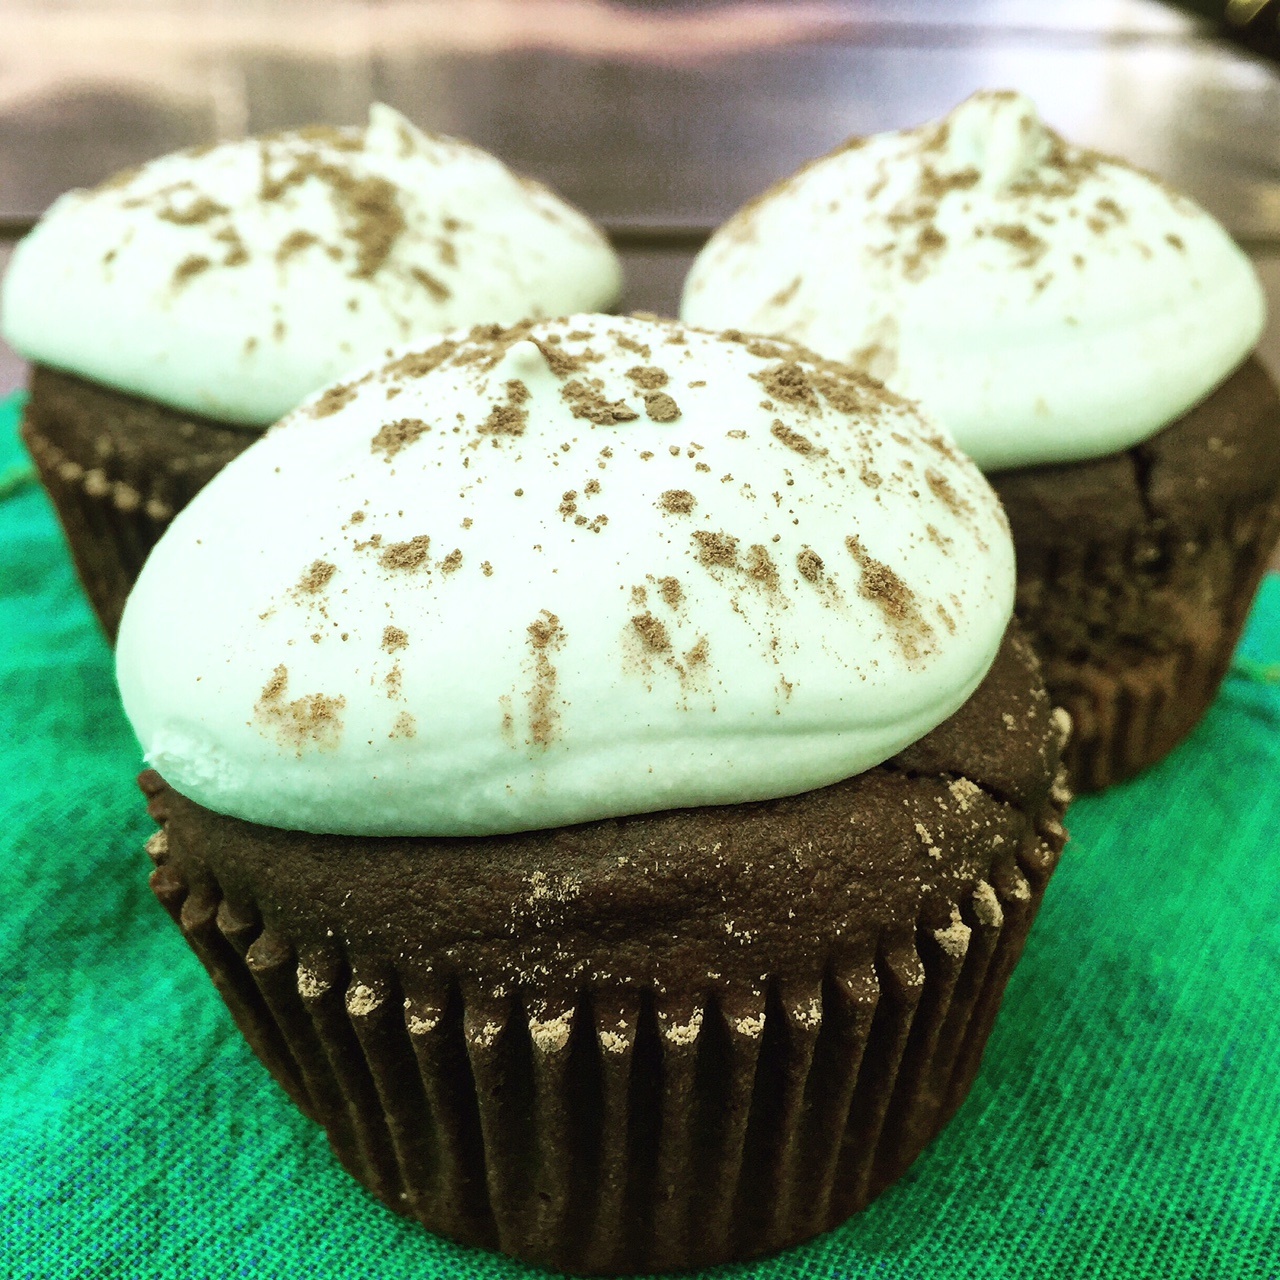
 Too Good To Be True Chocolate Cake with Vanilla Whipped Cream Frosting
Prep time: 15 minutes
Ingredients:
1/2 cup almond flour
1/2 cup coconut flour
1/2 cup raw cacao powder
1/2 teaspoon baking powder
1/2 teaspoon baking soda
4 green tipped bananas
3 pasture raised eggs
2 tablespoon non-alcoholic vanilla*
1 cup coconut milk (from the can)
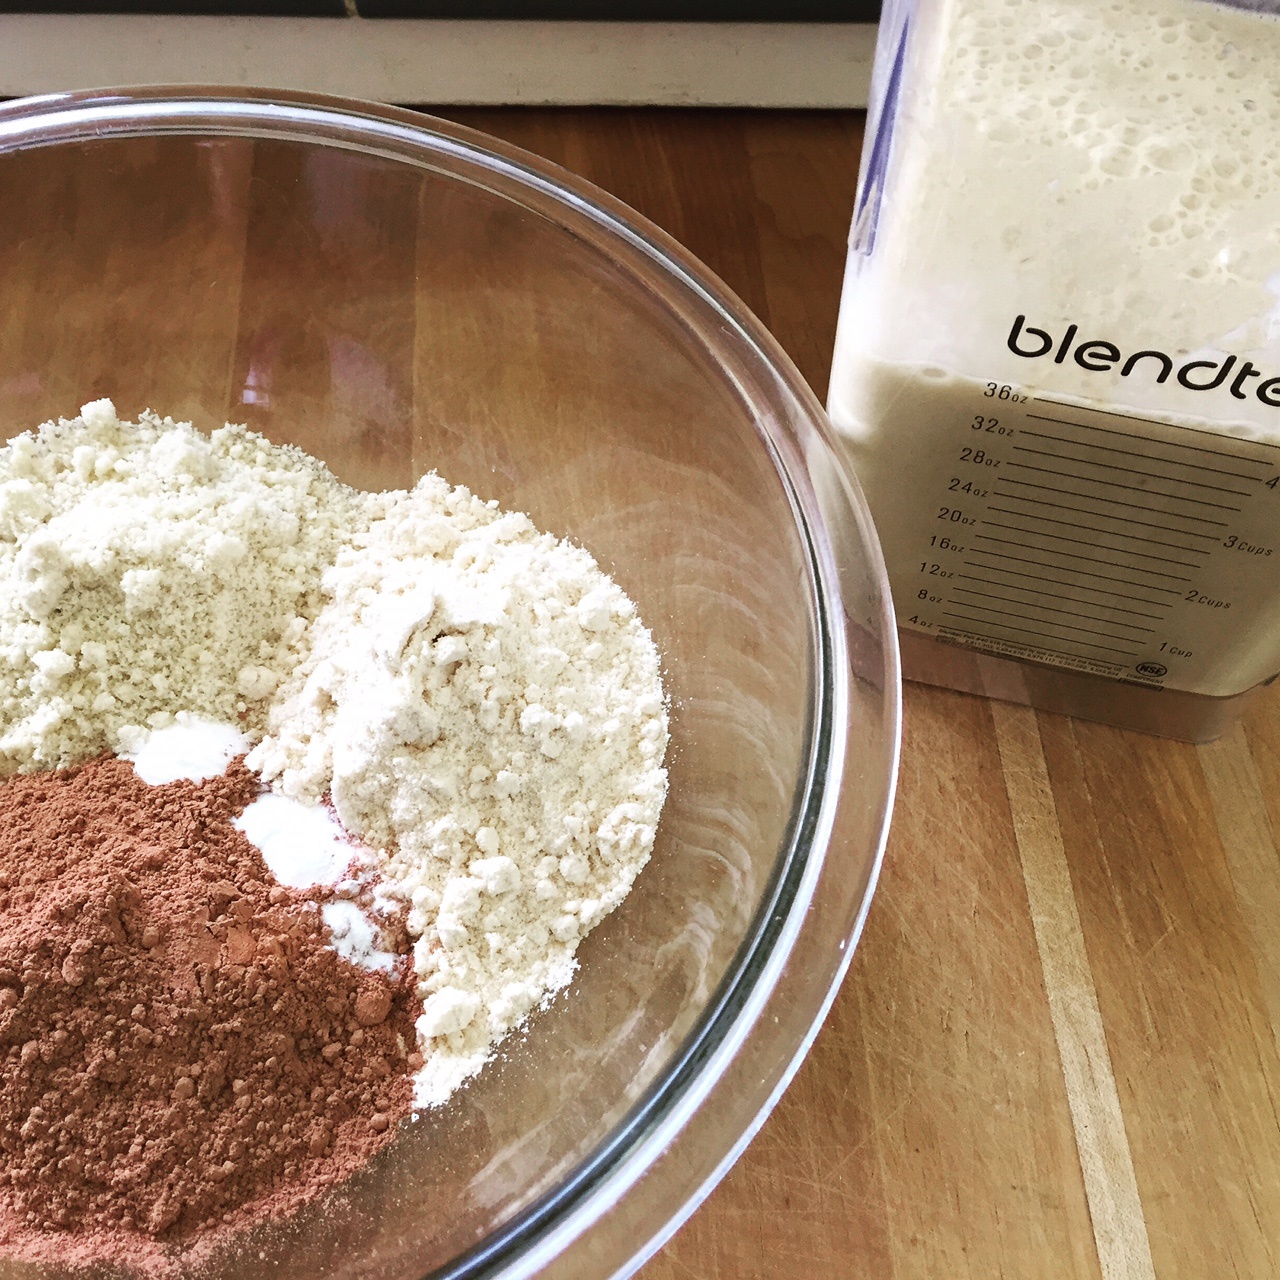 You’ll first want to preheat your oven to 350 degrees. Then in a large bowl whisk together the almond flour, coconut flour, raw cacao powder, baking powder and baking soda.
Now with a blender combine your wet ingredients (bananas, eggs, coconut milk and vanilla) until smooth. Again I like to use my Blendtec for this so that the mixtures becomes fully integrated and whipped (but this isn’t necessary).
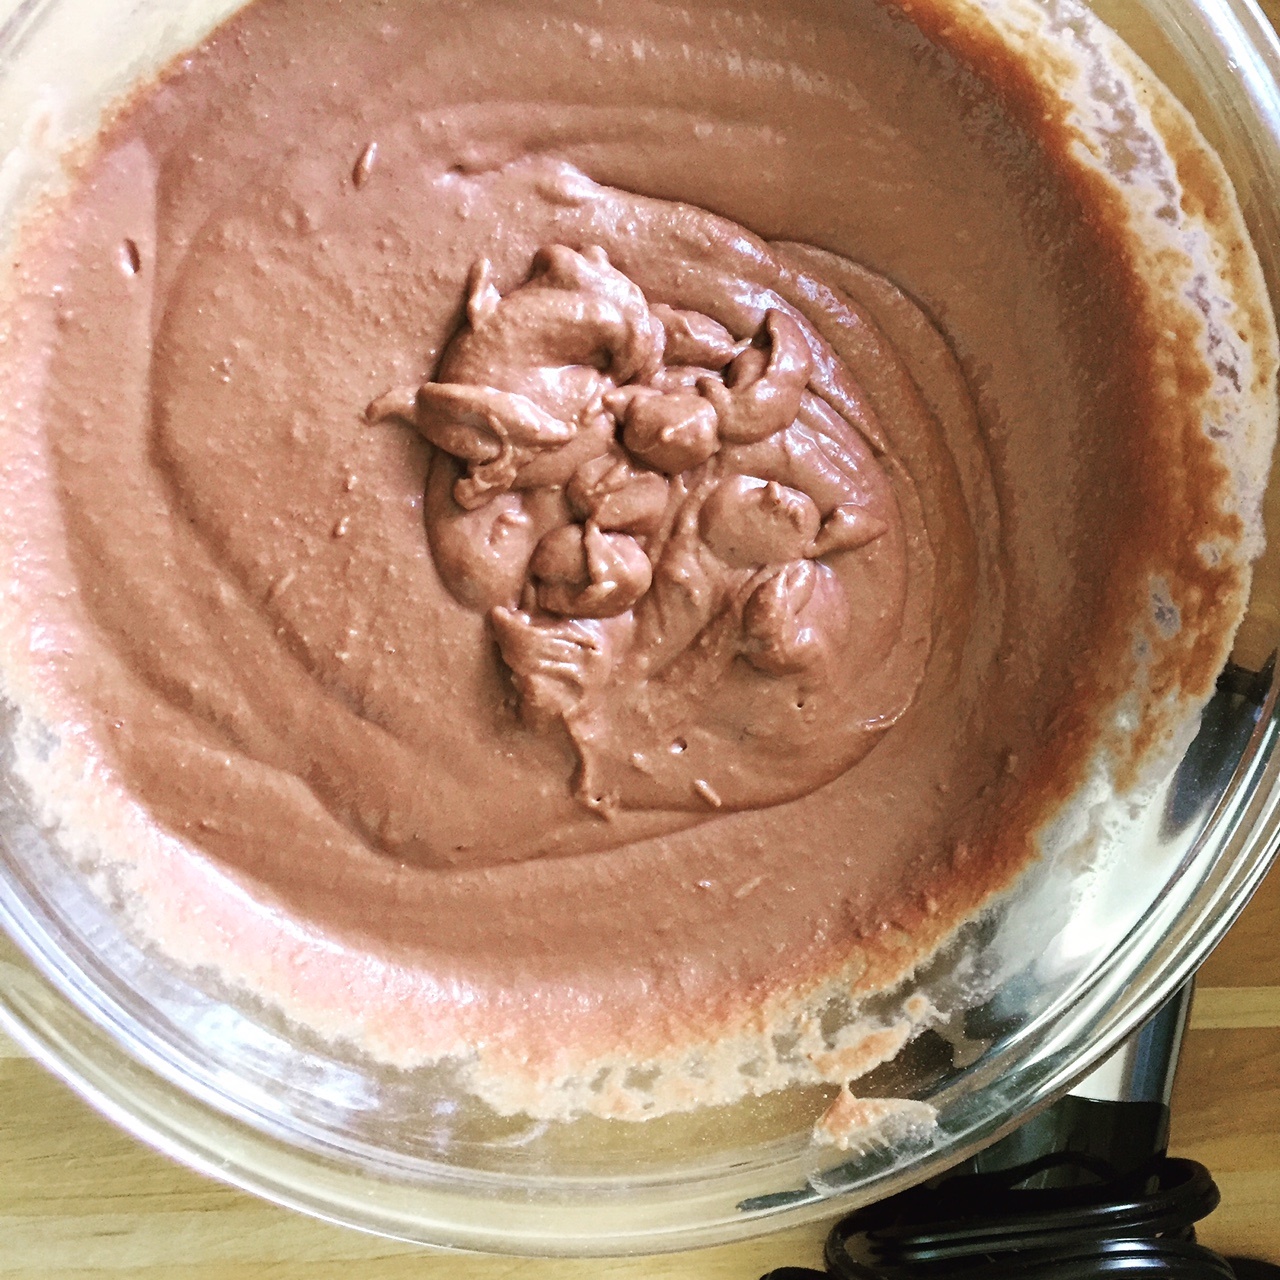
Add the banana mixture to your dry ingredients and whisk together (or blend with an immersion blender) until well combined.
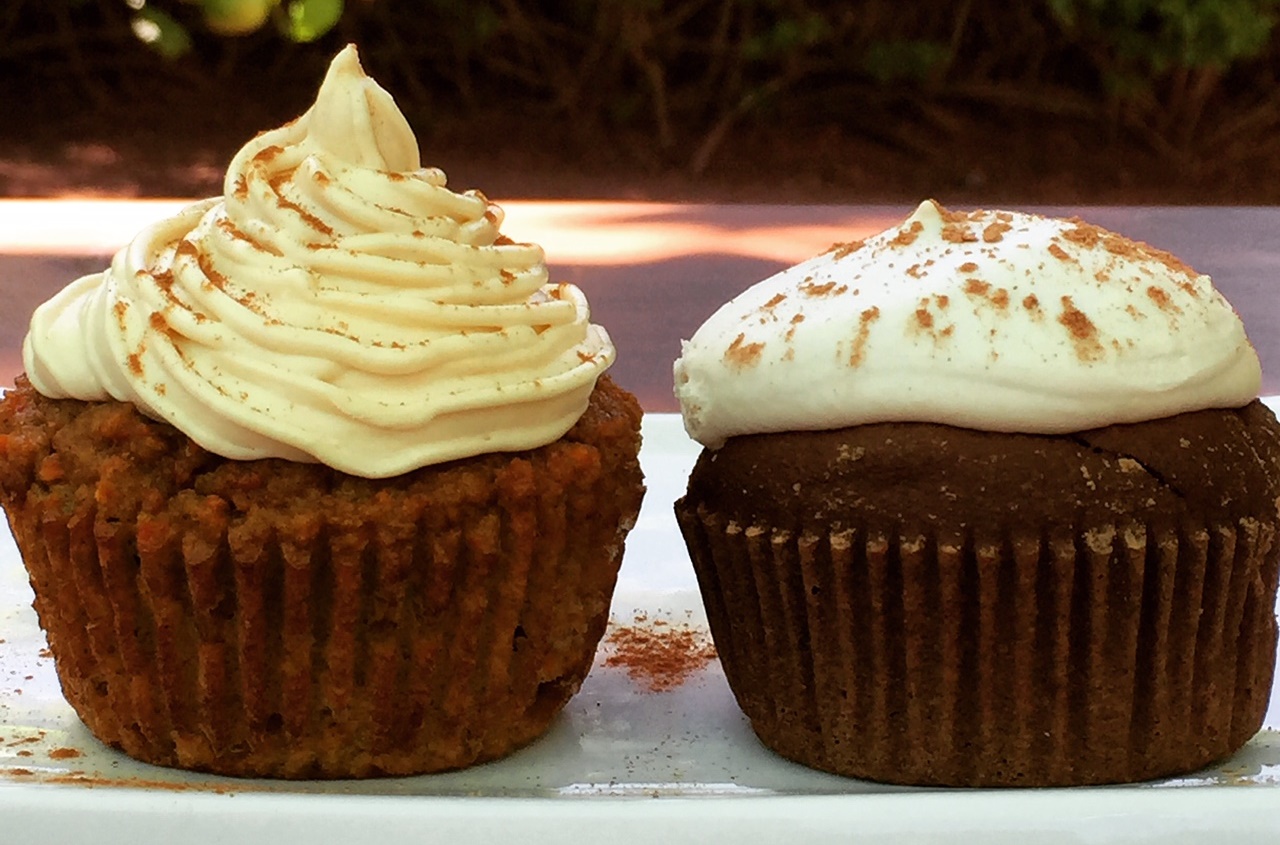
 Now when you transfer your batter to your cooking dish, I do like to use parchment paper to cook with instead of a greased pan. I think the parchment paper (or parchment cups) allow your cake to cook more evenly and you don’t get that harder outside edge that can happen with a greased pan. Also, just like above, you can make this in a bread loaf tin, cake tin, or as individual mini cakes (as pictured).
Bake for approximately 30-40 minutes (you’re time will very depending on which mold you choose) or a toothpick inserted into the center comes out clean. Make sure the cake cools before topping with your frosting and store in the fridge.
Vanilla Whipped Cream Frosting
Prep time: 5 minutes
Ingredients:
3 cans of cold, unsweetened coconut cream
1-2 tbsp of non-alcoholic vanilla*
Be sure to read “4 Tips to Consider Before Starting Your Frosting” below.
In a large mixing bowl, combine the vanilla and coconut cream. Now, using a handheld HIGHSPEAD blender or immersion blender, blend on high for about 2-3 minutes. The consistency should be fluffy, but still very slightly runny. Place in the fridge for at least 15 minutes to help it set.

4 Tips to Consider Before Starting Your Frosting:
1) Try to find coconut cream that does not contain guar gum (or at least very small amounts of it). Guar gum is an emulsifier, so it binds the coconut milk and cream together. When too much milk is present in the mixture it won’t “whip” for you (it’ll break down and become grainy).
2) Make sure your cans are COLD so that the cream and milk and fully separated. I like to store my cans in the fridge for days before I use them.
3) Open your cans from the bottom. This way you can discard of the milk more easily and reserve it for other recipes (I love to use mine in shakes).
4) If your still having trouble getting the right consistency, make sure you’re using the highest speed blender you can (mixers often won’t work)
This whipped cream recipe is awesome and goes great with everything from pancakes to simply green apple slices with cinnamon!
*For all these recipes I strongly recommend using vanilla extract that is “non-alcoholic” over the traditional kind. It is much smoother and it doesn’t have the harsh alcohol taste. If you can’t find non-alcoholic vanilla you will want to pair on how much you use in your recipes.
Virginia San Jose
Posted at 10:30h, 20 AprilThis recipe is really look good. I’m so excited to try it sometime.
Virginia San Jose
Posted at 10:31h, 20 AprilSo exciting.